Carving a Pumpkin – Without the Mess!
 Ahh, carving a real pumpkin… what a wonderful and awful experience. I have to admit that it’s a love/hate sort of thing for me. I love all of the wonderful language skills you can address with this activity such as vocabulary, sequencing, and answering questions.
So, what’s to hate? It’s such a mess!!! Now before you send an OT over to my room to help me with my aversion to pulp being under my fingernails, hear me out. I’ve found a way to keep the great aspects of pumpkin carving as a language therapy activity without the mess… craft pumpkins! While I realize these have been out for years now, this is the first time I’ve taken them to the next level and brought them into my sessions.
I found that many of my students have never helped carve a pumpkin and don’t know the parts of a pumpkin or the steps necessary to carve one. So, with a few supplies from a local craft store, I’ve now got a great way to demonstrate this fall tradition. You can even use the same pumpkin over and over for each group! LOVE IT!
What You Need:
- craft pumpkin
- yellow yarn*
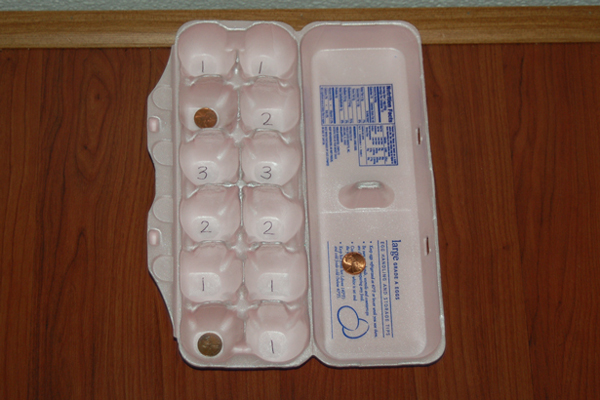
- dried pumpkin seeds (pre-packaged or ones you’ve dried)
- pencil
- sharp knife
- bowl
- large spoon
- plastic knife
- small battery-operated light (optional)
What To Do Ahead of Time:
- Using a sharp knife, cut a circle around the top of the pumpkin.
- Draw eyes, a nose, and a mouth on the pumpkin with a pencil.
- Cut out the shapes to make a face. (Keep these parts.)
- Cut the yellow yarn into 4 to 6 inch pieces.
- Place the yarn and some seeds inside the pumpkin.
- Replace the pumpkin top and pieces of the face.

*Note: For those not opposed to sliminess, you can use cooked spaghetti with olive oil as your pulp, but be sure to line the inside of your pumpkin with plastic wrap and have soap and water ready.
Activities:
- Have the students “carve” the pumpkin using a plastic knife. Remember to have them scoop out the pulp and seeds before carving the face.
- Discuss the pumpkin’s parts (stem, shell, pulp, seeds) and check to see if the students can identify and/or name them.
- Have the students estimate the circumference of the pumpkin by cutting off a piece of yarn they think will fit around it. Let each student try their yarn and see who is the closest. Discuss math-related vocabulary such as height, weight, circumference, diameter, and volume.
- Use the finished pumpkin as a container for students to pull out game cards or articulation stimuli.
Have fun!
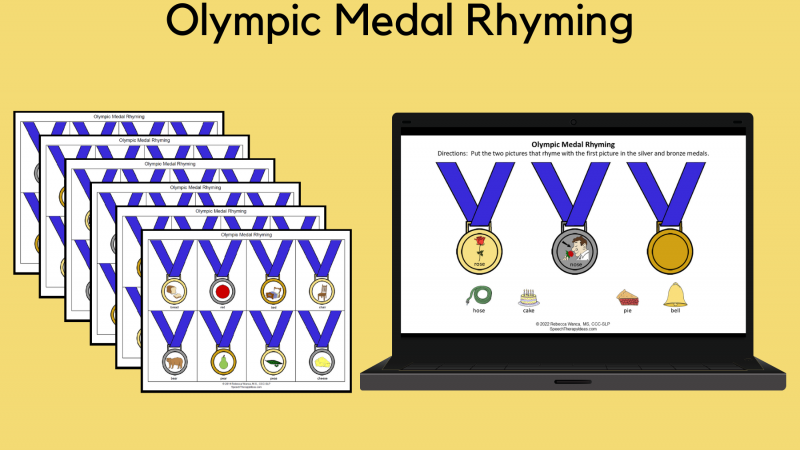
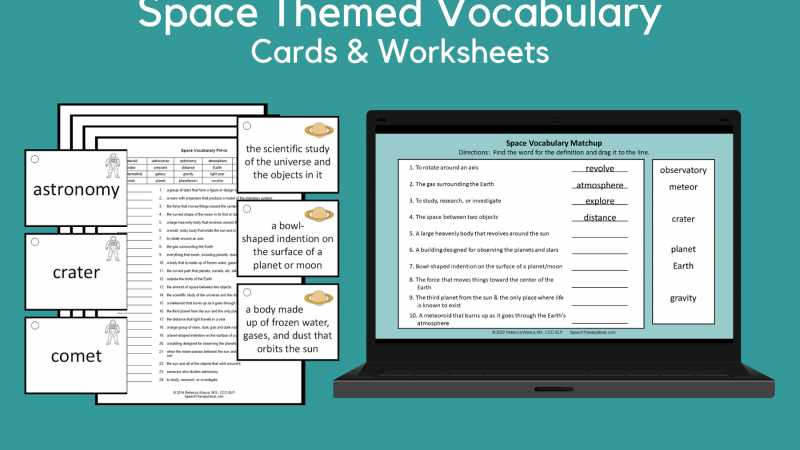
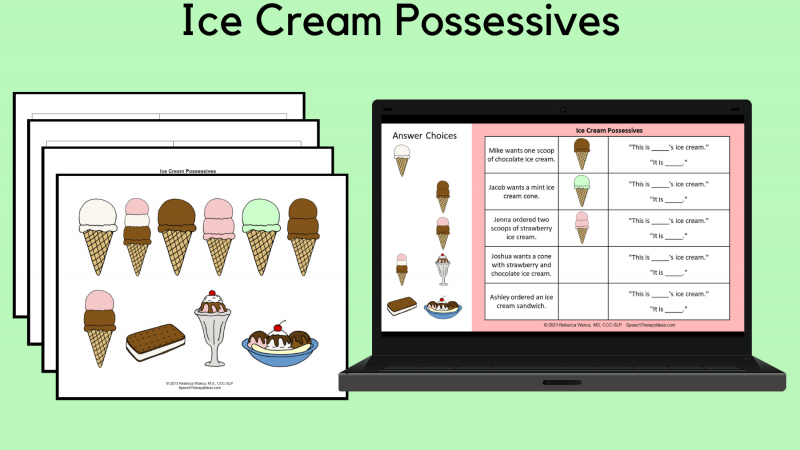
Related Printable Materials for Members:

Leave a Reply
You must be logged in to post a comment.
I LOVE this idea. Going to do this for our therapy clinic – I’m sure the OT’s would love to do this with their kids too!
Great idea. I am definitely using this.
Where can I find a craft pumpkin??
Stacey, Craft stores such as Michael’s or Hobby Lobby will have them. You could also try Joann’s or Walmart.
And you can reuse the same pumpkin over and over for several groups and even save it for next year!